Setup Guide: Phone Number Formatter
This step-by-step guide will help you install and configure the Phone Number Formatter in your HubSpot portal. Follow along to start automatically standardizing your contact phone numbers.
Install App NowInstallation
First, you'll need to install the Phone Number Formatter app from the HubSpot Marketplace. For that, click on the "Install App Now" button in this page and this will take you to the HS marketplace. From there, click the "Install" button which will initiate the installation process. Then choose your HS account and "Connect App". Once installed, you'll have access to a new workflow action that can be used to format phone numbers to the international standard.

Workflow Creation
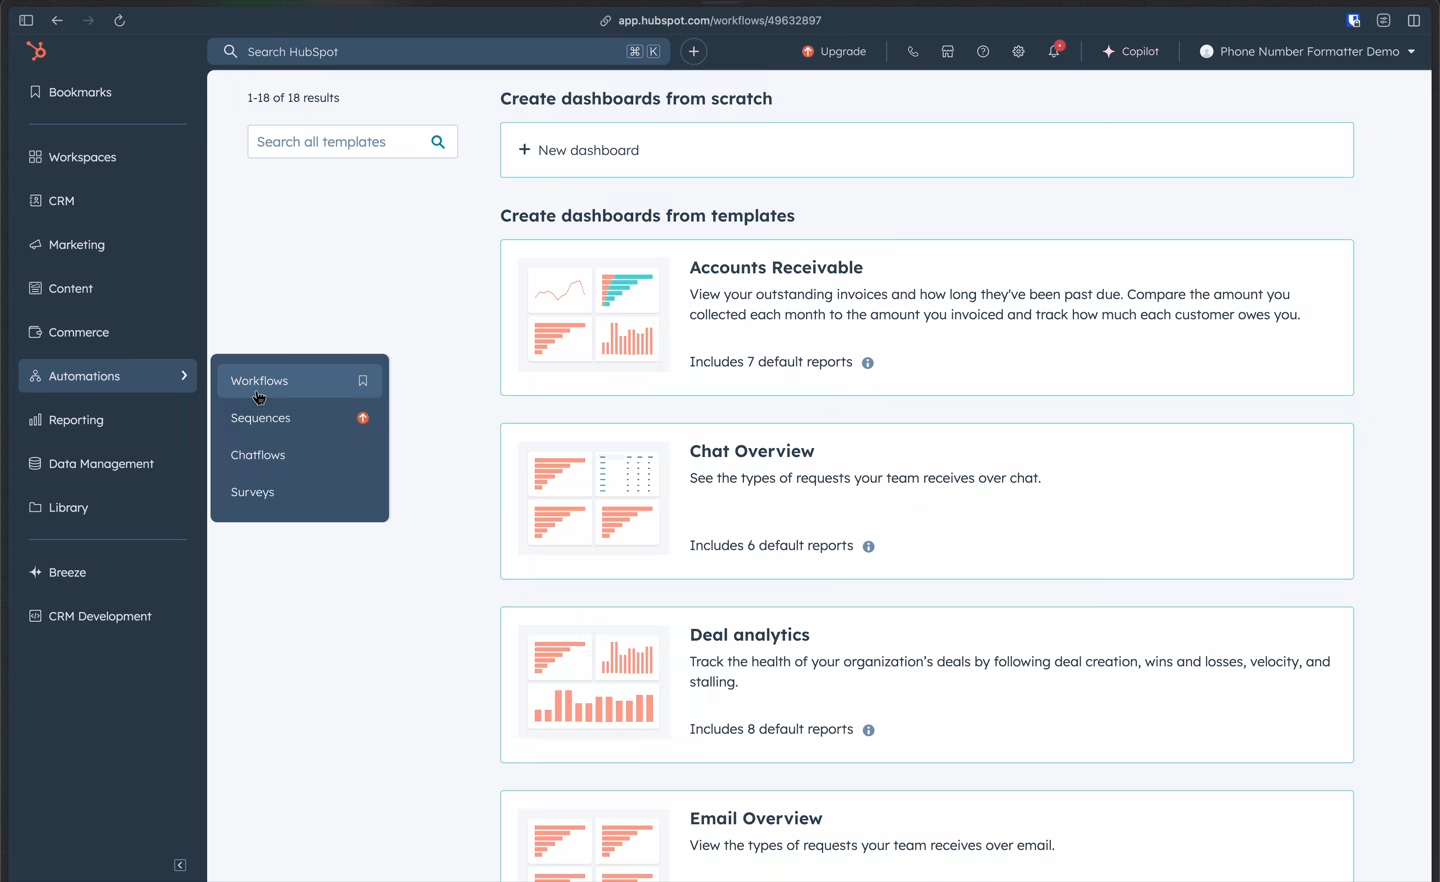
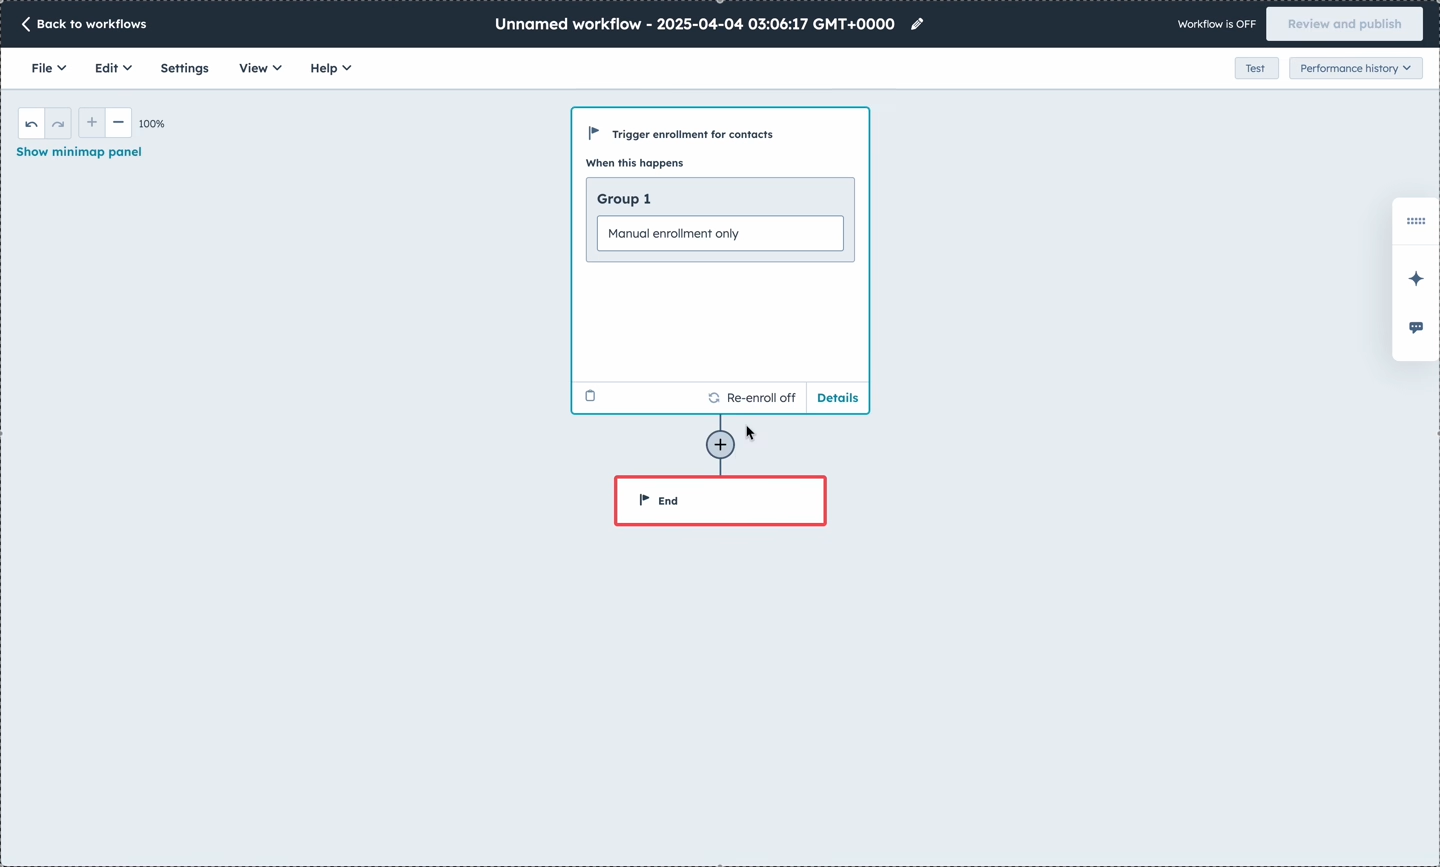
Next, create a new contact-based workflow. The Phone Number Formatter action works in contact-based workflows, allowing you to trigger formatting based on any contact-related event (like form submissions, property changes, etc.).
Using "Phone Number Formatter" Action
Once your workflow is set up with appropriate enrollment triggers, add the "Format Phone Number" action. This custom action will appear in your workflow actions list after the app is installed. Configure which format you want to use for formatting (ex: AU).
Updating Record with the Formatted Phone Number
Finally, configure where to store the formatted phone number. You can either update the original property or save it to a different custom property. After the phone number is formatted to (e.g., +61400123456), it will be saved to your specified property automatically.

Pro Tips & Best Practices
Important Note
If the input phone number is invalid, the "Format Phone Number" action will just output the original phone number without any changes to it.
Create a Dedicated Property
Consider creating a dedicated "Formatted Phone" custom property to store the formatted numbers, keeping your original phone data intact.
Turn on Re-enrollment
To run the same action on the same contacts again (if there was any error aat first run), make sure you have re-enrollment turned on for the workflow.
Use with Form Submissions
Trigger the formatter when new contacts are created via form submissions to ensure all new phone numbers are immediately standardized.
Bulk Format Existing Contacts
To format existing contact phone numbers, create a workflow with an enrollment trigger based on a list membership, then add all contacts to that list.
Check Workflow History
If formatting doesn't work as expected, check the workflow history for that contact to see any error messages or logs from the formatting process.
Testing Your Workflow
Before activating your workflow for all contacts, test it on a small sample to ensure it's formatting numbers correctly for your specific use case.